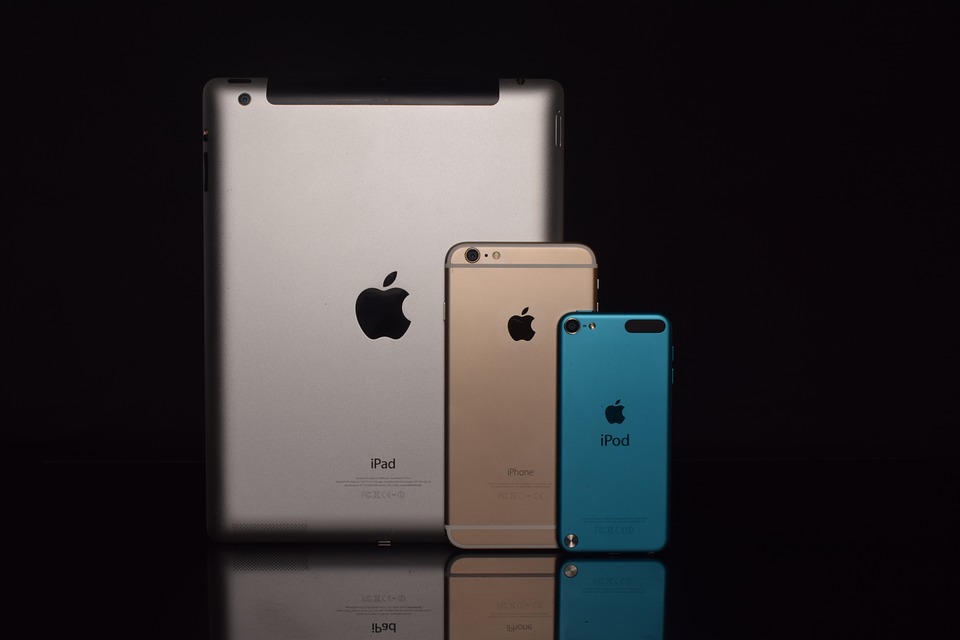
Setting up your new iPhone or iPad
- Hold down the power button (also lock button) on the top or side of the phone – depending on which generation iPhone you’re setting up. After a few seconds the Apple logo will appear, followed by a welcoming “Hello” message.
- Swipe to the right. You now have the option of which language you want your device to be in.
- Choose your region. This is important because your device will cater to your time, date format, currency etc.
- You can now connect your iPhone to a wireless network. Choose the W-Fi connection you want to use from the drop down list and then enter the password.
- Choose whether to enable or disable location services. You can change this in Settings later, but since most apps use your location in some form, it’s probably best to enable it now.
- Choose whether to set your iPhone up as a new device, restore a backup from iTunes, or restore a backup from iCloud. A new device means you’ll start from scratch, but if you previously owned an iPhone it’s recommended to restore its backup. To find out how to do so, check our previous article on Restoring iOS Device Backups.
- Sign in to your Apple account if you have one by tapping Sign In with Your Apple ID and entering your Apple ID and password. If you don’t have one, go to Create a Free Apple ID.
- Read the Terms and Conditions, and then agree to them.
- Choose whether to use or not to use iCloud. Again, this can be changed later in the Settings, but its free benefits mean it’s recommended to use it right away.
- If you use iCloud, tick or untick the numbers you wish to connect with via iMessage or Facetime, both Apple-only services.
- Choose whether or not to use iCloud Drive, a service for storing documents online, useful particular for Windows computer-users.
- Create a passcode. Older devices ask for a four digit code whereas newer ones ask for six digits.
- Choose whether to enable or disable Siri, Apple’s digital assistant. It can be quite handy when performing standard tasks.
- Choose whether or not to send Apple error reports.
- A “Welcome to iPhone/iPad” note will appear on the screen, meaning you’re all set up.


