CloudApp is screen capture and recording software that has flown under the radar, but the company has been around for 10 years and boasts over 4 million users. Here’s the rundown:
While CloudApp functionality allows you to capture, annotate, and share screenshots online, this review is limiting the scope to just the recorder feature, minus GIF creation.
Full and selected region screen recording

Once you have the software client installed (Mac, Windows, iOS), it takes at most four clicks to start recording your screen. Given the settings available in the Mac and Windows clients, here’s a list of the different kinds of videos you can create:
- Full screen, screen only, optional audio
- Full screen, window-in-window webcam, optional audio
- Full screen, webcam only, optional audio
- Selected region, screen only, optional audio
- Selected region, window-in-window webcam, optional audio
The iOS app has the ability to record the full screen, with or without audio.
The UI is pretty straightforward with a clean design. To get started, select how much of your screen you want to record. The full screen recording option is pretty self-explanatory. If you choose to select just an area, you’ll see a gray overlay with text explaining how to select the location on your screen.
If you want to record the exact same part of the screen every time, pressing Enter will use the same settings from the previous video. It’s a great shortcut for consistency when creating training materials, user guides, or branded multi-part videos.
After you select the area of your screen, you’ll see a controls menu. The display varies based on the status of your video but you can start, pause, and stop the video as well as toggle audio. If you opt for video and webcam, you also have the ability to toggle the webcam.
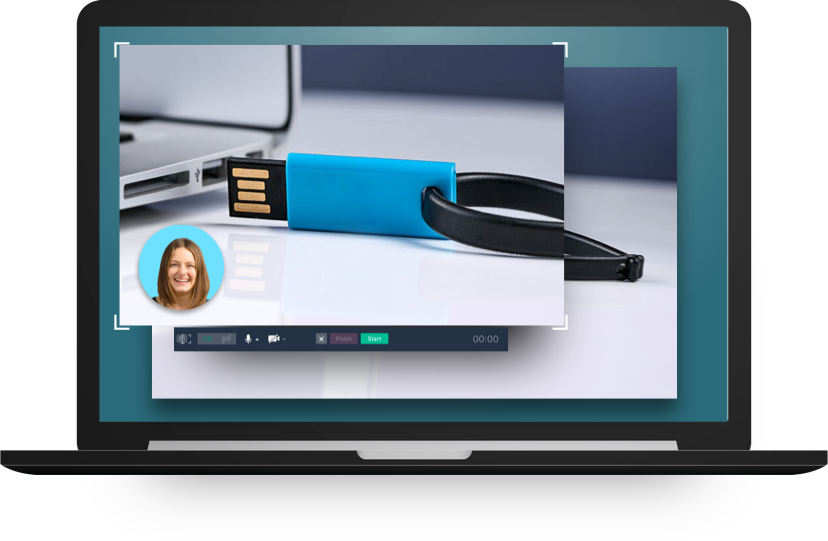
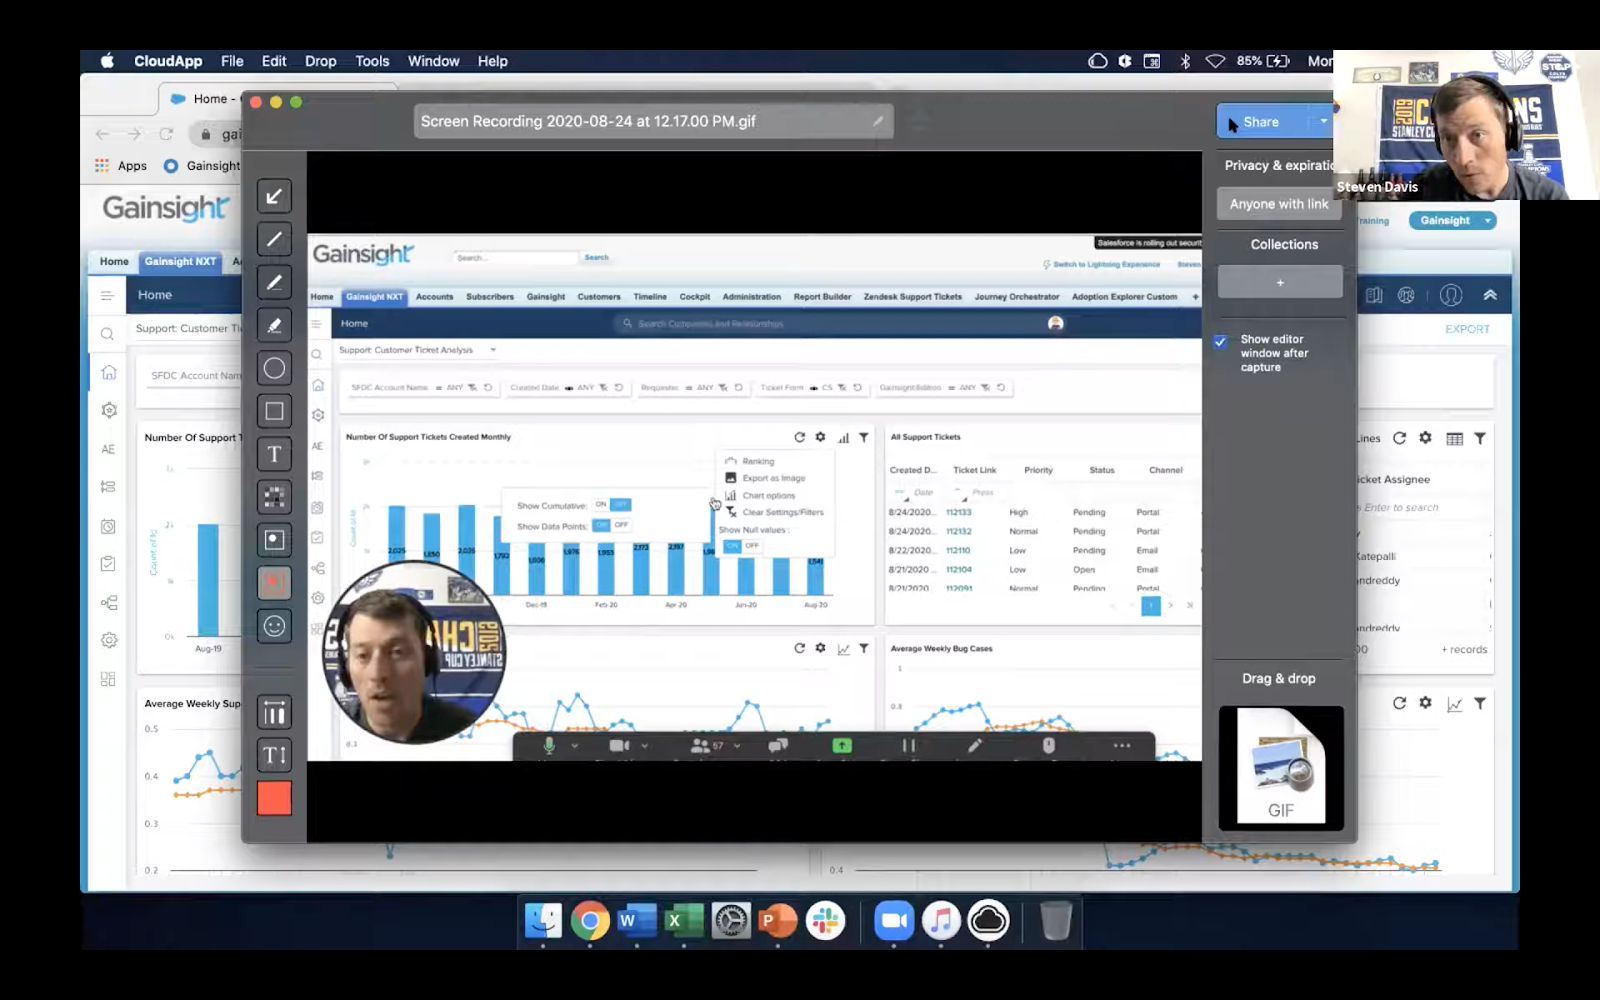
Here’s what the window-in-window video format looks like when you have the webcam enabled.
Video viewer with built-in video editor

Whether you record the full screen or just a selected region, a video viewer with editing abilities opens up when you finish recording the video. In addition to nice-to-haves like being able to rename the video, manage sharing permissions, and organizing where in the file structure your video gets uploaded into your CloudApp account, you can also edit videos before any of the above happens with two edit options: trim and cut.
Trim allows you to remove parts of the video at the beginning and end. Use the yellow cursors to select the time you want to keep in your video (in green in this image). Clicking the trim button will then remove the red areas on the outside.
Cut allows you to select a piece of the video and remove it. Move the yellow cursors to the beginning and end of what you want to be removed and then kick it to the curb with the cut button.
At the top of the video, you’ll see the recording’s name. To change this quickly, click the pencil icon and type in the new name. Click the checkmark icon once finished. Hit the escape key to cancel the name change.
Like other content, you can drag and drop videos from the CloudApp into emails, Slack channels, and other locations to move and share them. Videos also have the standard feature of being added to a Collection by using the Collection icon in the main menu.
Organizing your screen recordings
CloudApp for Mac

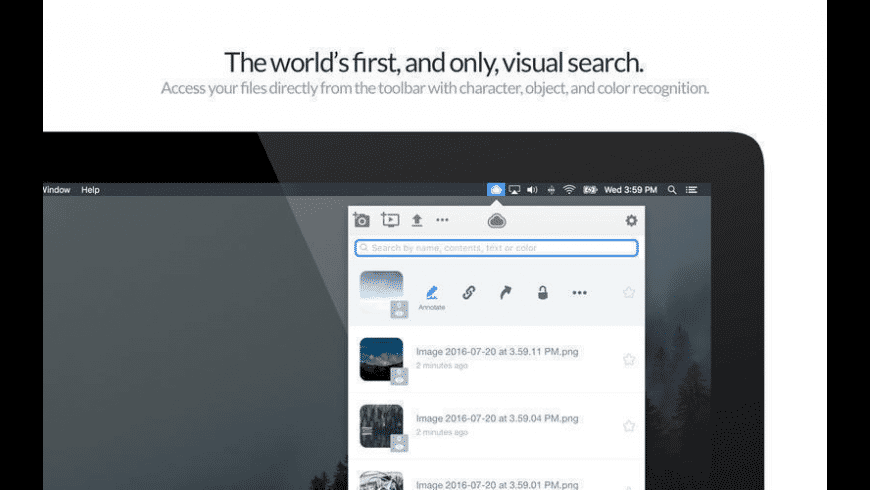
CloudApp calls video and images that you create with their software “drops”. The client displays a scrollable list of drops. You can also access these drops in your CloudApp dashboard that you can access through the browser by logging into your account. While your CloudApp Drops are stored online, you get immediate access to them on the desktop software and our apps. If CloudApp is minimized, click on the CloudApp icon to open the program up, and you’ll find a tab that shows all of your Drops.
They’re sorted in the order of when you created them. There are also two additional tabs, Collections and Favorites. You have the ability to favorite a drop or add it to a collection from the viewer window when you first create a video or in the options menu that displays in each individual drop when you hover over it.
You can also take a wide range of other actions from the options menu. You immediately have access to buttons to get the link for the Drop, copy it to your clipboard, open it in a viewer, make it a secure item, share it, delete it, add to Favorites, or add it to a specific Collection.
By clicking on the three dots to the right of the Drop, you get even more options.
CloudApp for Windows

Clicking on the Collections tab will take you right to your Drop Collections, organized with the most recent Collection at the top. Every installation is pre-loaded with access to the “How to Use CloudApp” Collection to make it easier for everyone to get started.
Clicking the arrow to the left of a Collection’s name will open it and show all items within that Collection. You can then click on these and get access to the same functions as a Drop in the list view. Drops can be added to any number of your Collections, making it easy to utilize everything you create fully.
If you click on the three dots next to a Collection name, you’ll get a series of actions that apply to all the Collection and the items in it.
And if you want to build your own Collection, simply click the blue “Create New Collection” at the top and give it a name. It’s as simple as that!
Clicking the star icon next to any drop will add it to your favorites list. This is a simple and straightforward way to keep your most used items all in one place.
Favorites are useful for longer saving of your items. Or you can quickly favorite a series of Drops and then use the icon that looks like a folder with a plus sign to add them to a Collection. That can make sorting and building collections easier if you want to group items from across a long period of time or want to add a series of items to multiple Collections quickly.
CloudApp video technical specs:
Format: MPEG-4 (.mp4)
Resolution: 720p
Encoder: Lavf58.20.100
Compression: h264 (high)
Audio Compression: aac


